Create a wallpaper with Blender
Have you ever wanted to create your own beautiful wallpaper? This short blog post will show you how, using a great free tool called Blender.
Even though Blender is a complex tool that allows you to do many things like create and animate models for pictures, games, videos, etc., it is still easy to use to create simple things like a wallpaper.
Get started
In this tutorial I assume you already have Blender installed. If this is not the case, you can follow this short tutorial here.
With Blender now installed, we can dive right in.
Create the foreground
For the foreground part I used the tutorial from Blender Made Easy - How to Make a cool Blender Wallpaper. You can follow the tutorial on Youtube or here.
The first thing we need to do is to create a hexagon. For this we add a cylinder Shift + A -> Mesh -> Cylinder and change the number of vertices to 6.
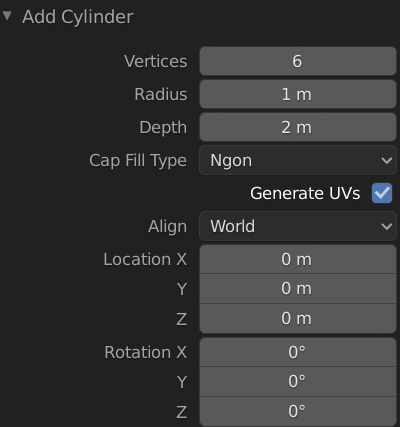
This can be done using the Add Object window at the bottom left corner. Now a window should open where you can change the number of Vertices.
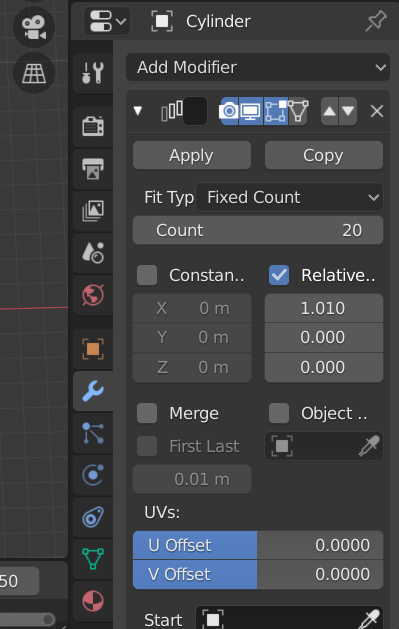
Next thing we want to do is create multiple instances of this object. For this we select our object and apply the array modifier in the Modifier Properties section. In the toolbar on the right there is the open-end-wrench 🔧 symbol. Select it and use the Add Modifier button to add an array modifier.
In the modifier settings set the count to 20 to create multiple hexagons. Now set the Relative Offset to 1.01 to create little gaps between each hexagon.
You should by now have a row of multiple hexagons lined up next to each other. Click the Apply button in the array modifier panel to apply the array modifier. Our object now consists of a row of hexagons.
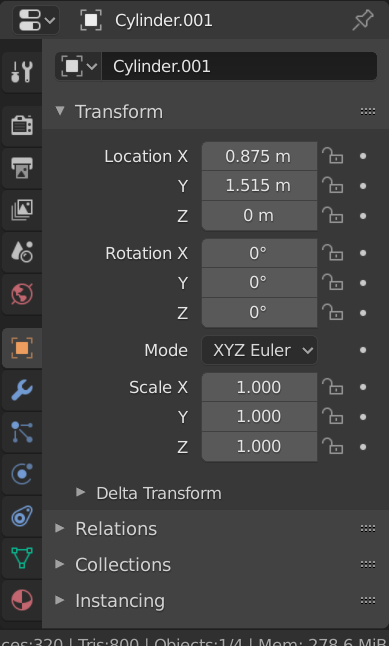
Just like before, we want to duplicate this row. To do this, select the row and press Shift + D . Now position the duplicated row on top of the other row, but with a slight offset to the right. The corners of the hexagons of the first row should be positioned between the corners of the second row. You can adjust the distance between the two rows by selecting the second row and selecting the Object Properties panel with the small orange square icon. There you can adjust the X and Y position so that the distances between the hexagons are roughly the same.
At the top right corner is the project tree. There you should now see two objects called Cylinder and Cylinder.001. Each represents a row of hexagons. To merge them into a single object, select both of them and press Ctrl + j. The project tree should now only contain Cylinder.001.
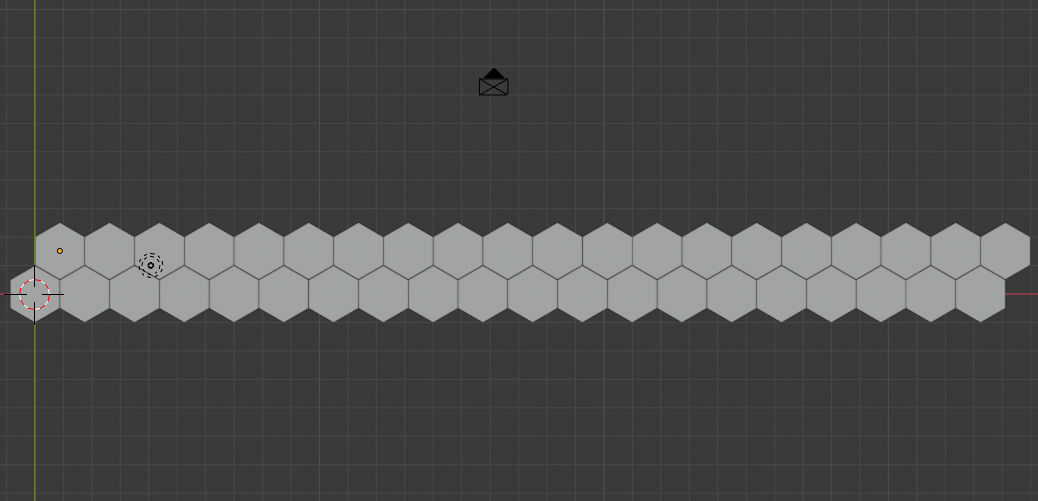
Now we copy these two rows again by selecting them all and pressing Shift + D again. Each time you copy, place the resulting rows on top of the previous ones. This way we can create several rows of hexagones. At the end you should have a rectangular field with lots of hexagons.
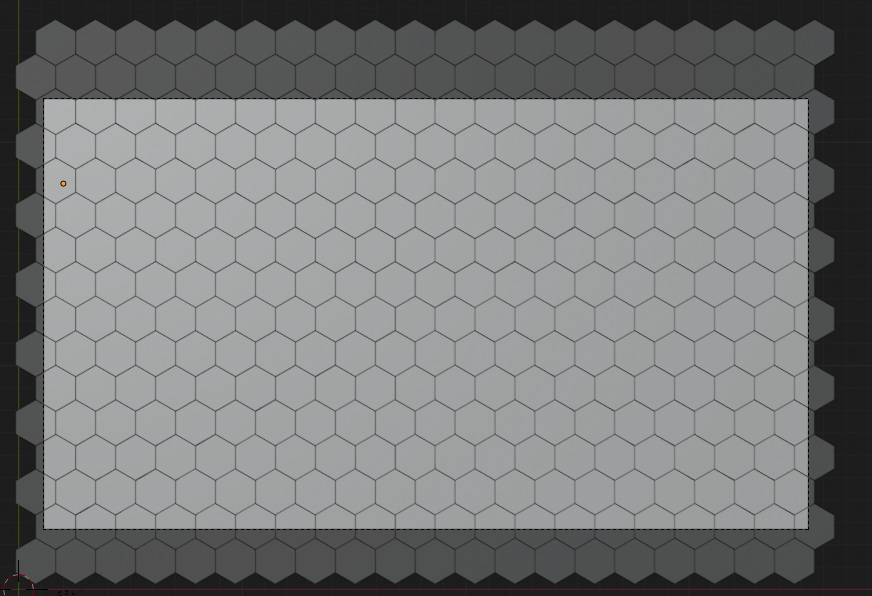
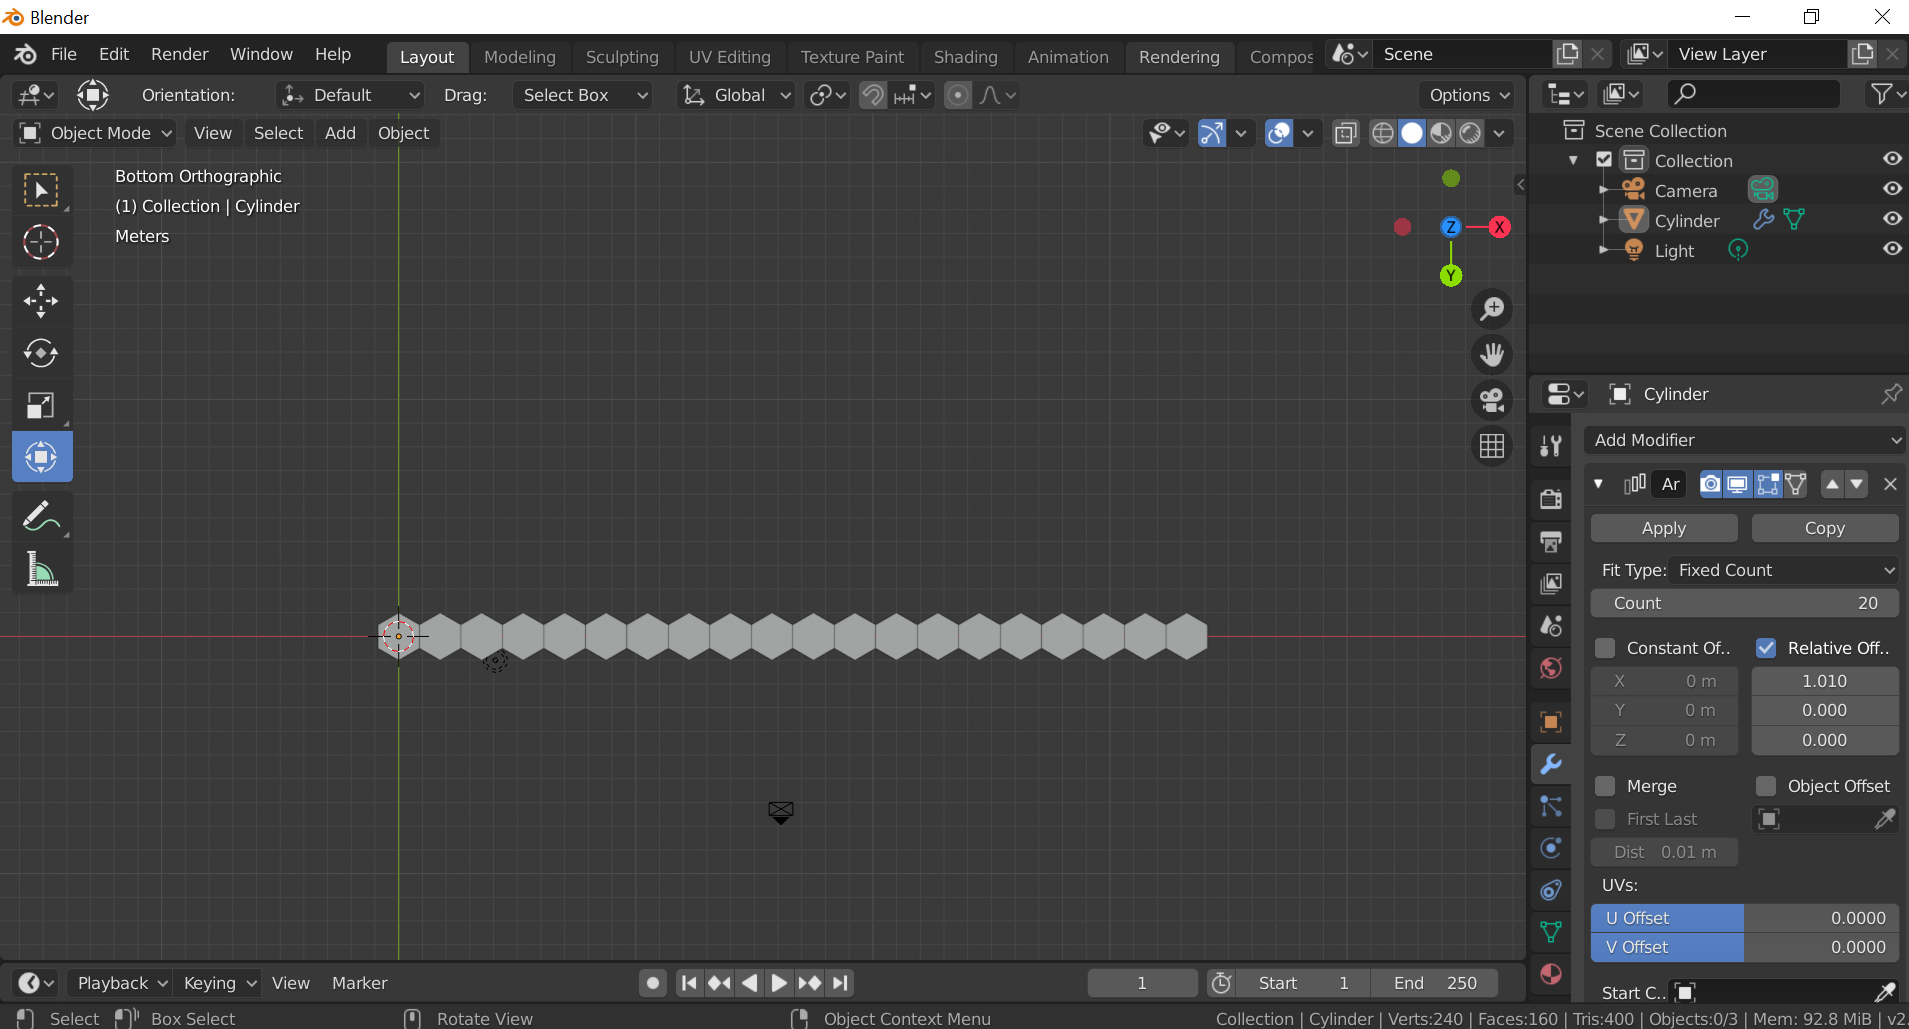
The next thing we want to do is to center the camera. First make sure you are looking at the rows from top down. The best way to do this is to click on the little blue Z on the axis in the top right corner. Then press Ctrl + Alt + Num_0 to centre the camera. The camera should roughly cover the whole field. You can move the camera by selecting the camera view, pressing G and moving the mouse to adjust the position, zooming in or out press
z.
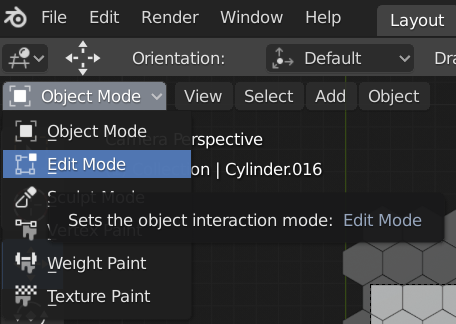
Next, select all the rows with a left click anywhere in the hexagon rectangle. Switch to Edit Mode by clicking on the drop down menu in the top left hand corner. Now press p and select By loose parts. This can take a few seconds. Switch back to Object Mode. You should now have all the hexagons as individual objects in the project tree. Select all the hexagons, right click and choose Set Origin -> Origin to Geometrie . This may also take some time.
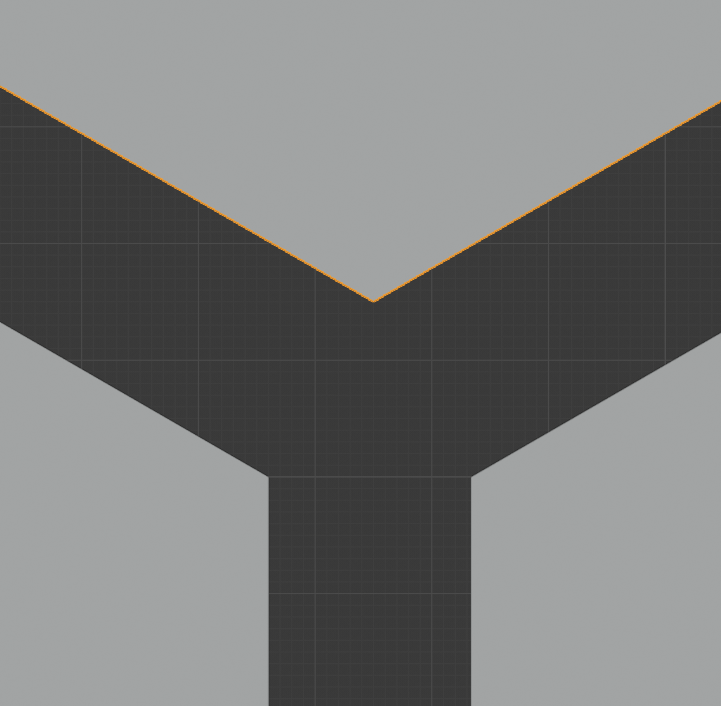
To finish the foreground we switch back into Object Mode, select one hexagon and press o to switch to the Proportional editing object mode. Click the Move button on the left toolbar and click the blue arrow that appears near the selected hexagon. Using this arrow, we can now move the hexagon up a little and in the bottom left corner a window saying Move should appear.
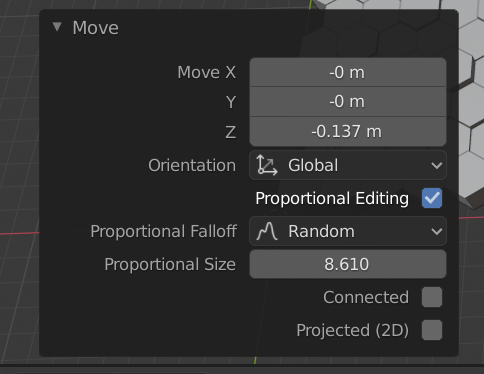
For the Proportional Falloff select Random and change the Proportional Size number to something like 8.0. Then select one of the hexagons again and move it upwards. The surrounding hexagons should now move as well. You can move more than one of the hexagons if you like.
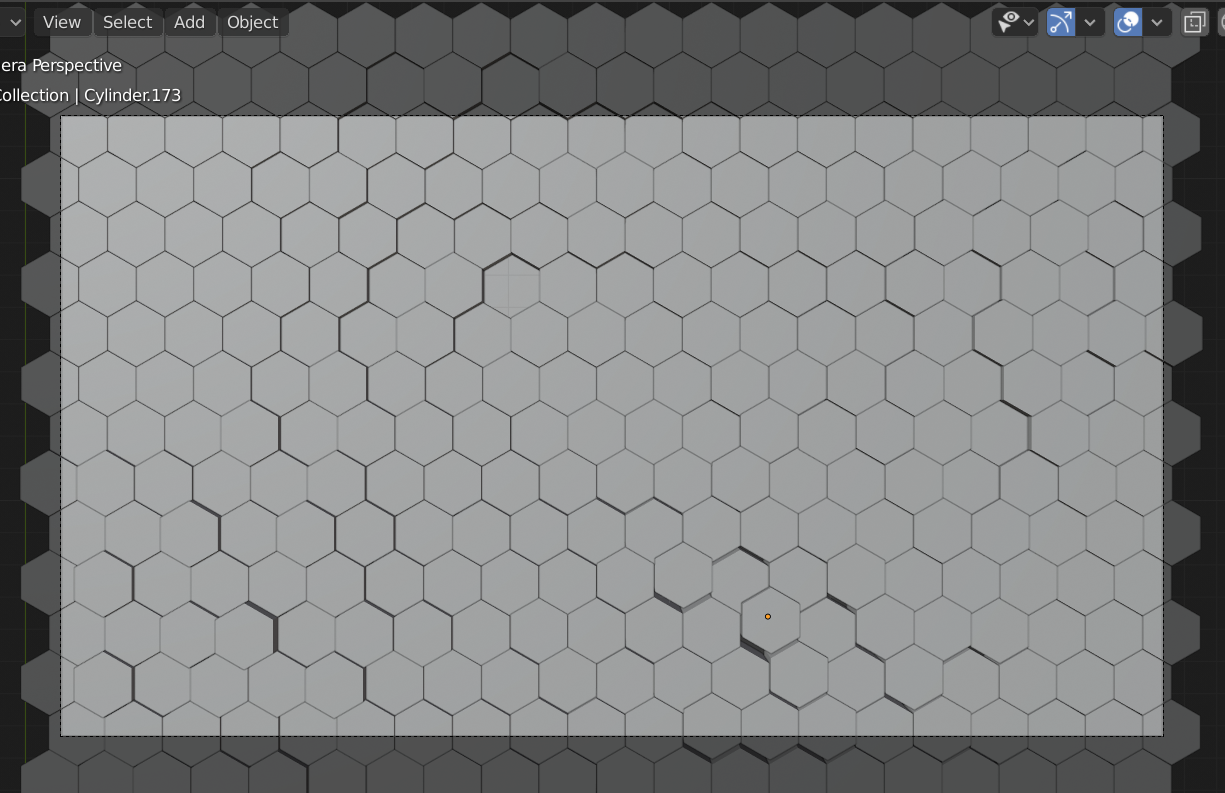
The whole thing should look something like this by now.

Now we need to do some configurations for the rendering. I changed the lamp to Sun and reduced the Strengh a bit by clicking on the lamp object and selecting the lightbulb 💡 from the toolbar in the bottom right corner, which is the Object Data Properties panel. The sun mode makes the lamp behave like the sun would on earth. The light rays go in one direction. You can change the position of the sun and the direction of the rays to suit your needs. I choose the upper right corner.

To see the result of your adjustments switch the Viewport Shading to Rendered. This is done by clicking on the outer right circle in the top right toolbar. This will switch to real-time render mode. You should now be able to see the shadows your light is creating.
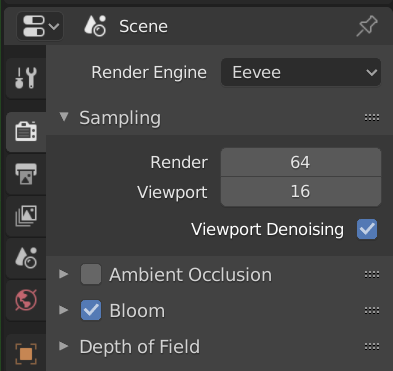
Now let's adjust the render configurations. To get to the Render Properties click on the camera symbol in the right toolbar. As we are going to add some lighting later, we tick the Bloom checkbox to enable bloom.
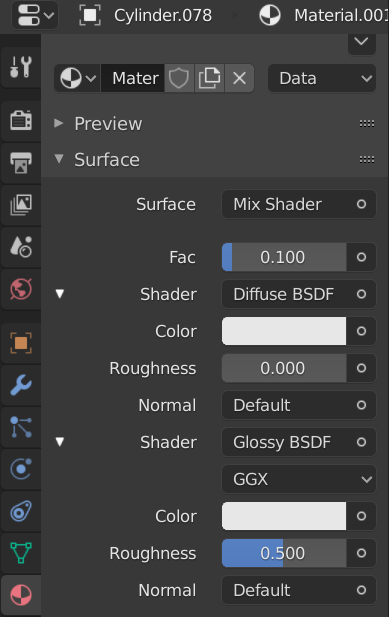
The last thing we need to do for the foreground is to add a material to the hexagons. We do this by selecting one of the hexagons and switching to the Material Properties which should have a red circle as its icon. In the panel we add a new material by hitting the New Button. Now follow the cofigurations shown in the picture. Basically we set the Surface to Mix Shader and add the Defuse BSDF and Glossy BSDF shaders. Furthermore we change the colour for both shaders to something darker.
To apply the material to all the hexagons select all the hexagons, press Shift and left click on the hexagon with the material applied. Press Ctrl + L and select Materials in the pop up menu. Now all the hexagons should have this material. You can check by clicking on another hexagon and checking the Material Properties where the material you created earlier should be.
Now let's render an image of the whole foreground by clicking on the Render in the top menu next to the File and Edit button.
This should open a new window where you can watch the rendering process. If the resulting image is noisy, you can increase the Samples in the Render Properties panel, which should right now have a default value of 128. The result should now look something like this.

Great! You have finished the foreground so far. Take a moment to pat yourself on the back.
The background
Now comes the easy part. The foreground itself already looks quite good. We could stop here and use it as our new wallpaper. But I want something a bit darker. Toget a better contrast. Let us continue with the background to add some colour.
To do this, we will add a new mesh, this is a plane object. We will place the plane under the hexagons and scale it up a little so that it roughly covers all the hexagons. Now we add a material to the plane. Select Emission for the Surface, then select a colour of your choice and increase the Strength of the material to something like 3.5. We have now created a glowing background for our wallpaper, which shines through the small gaps between the hexagons. To see the bloom of the background the “sun light” must not shine to bright. I reduced it to about 8, but it also depends on the distance between the light and the other objects.
Rendered the whole thing looks like this:

Congratulations you are now finished. I hope you enjoyed creating your own wallpaper and are happy with the result.